

Over the past two years, we've been working on adding a new type of resource to our catalog: the 3D simulation! While many subjects are well suited for two-dimensional exploration, there are certain topics (such as anatomy) in which learning is greatly enhanced through the use of interactive 3D models.
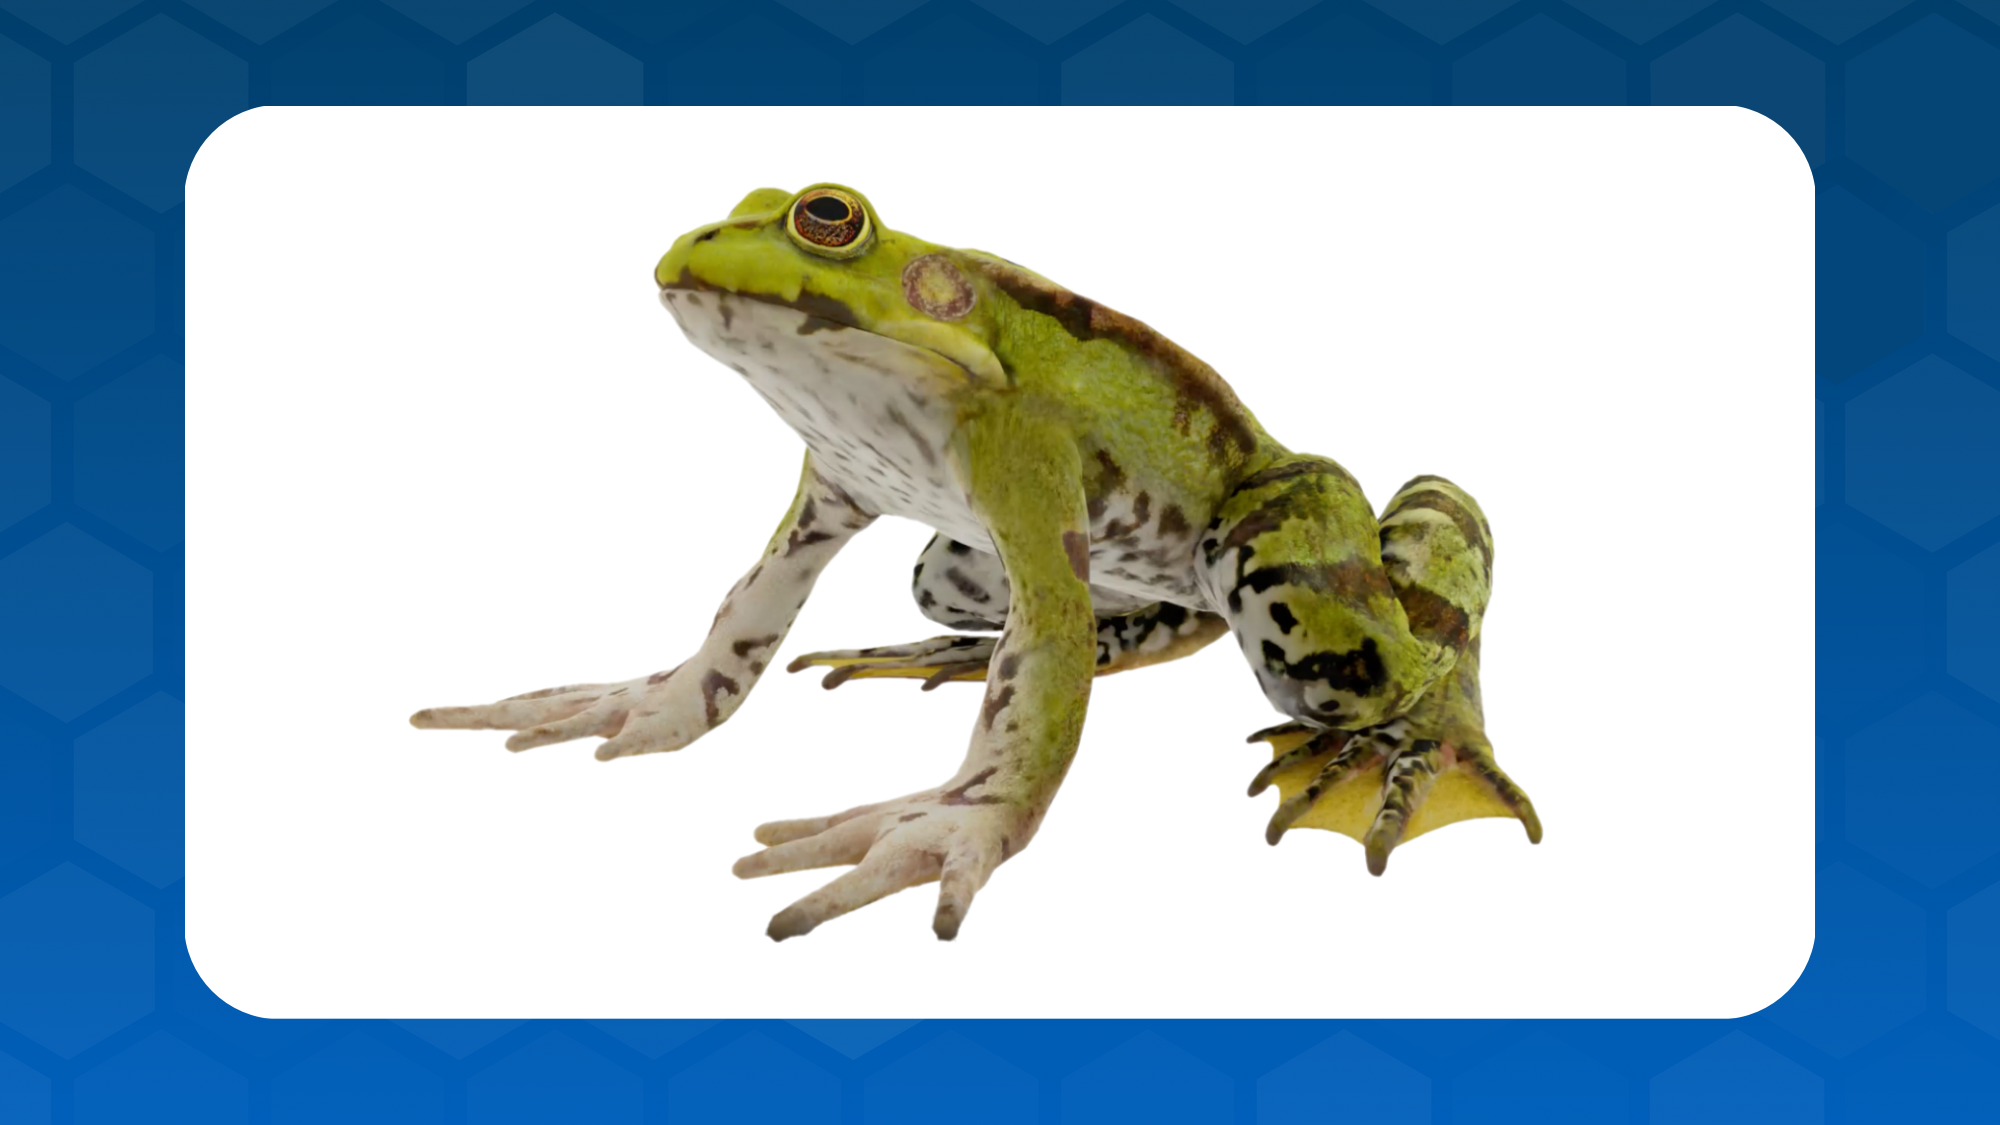
The first of these new simulations is the 3D frog dissection virtual lab, which allows learners to explore an interactive 3D model of a frog and go through the process of dissection step by step. The simulation is entirely virtual apart from an optional printable student worksheet, so there's no need for educators to acquire real specimens, reserve lab space, or buy expensive equipment. Additionally, the virtual lab allows learners who may be uncomfortable with animal dissection to engage with the topic in a more humane way.

To learn more about the 3D frog dissection virtual lab—and share some tips for using it in the classroom—we spoke with two members of the LabXchange simulation development team: Tess Gadd, product design lead, and Maggie Olney, teacher–in-residence. Read their responses below!
(Responses have been edited for length and clarity.)
Maggie: Frog dissections used to be fairly common in the science classroom, but for myriad reasons they are becoming less popular. This simulation allows students the opportunity to engage with the valuable practice of anatomical dissection without having to worry about time, space, resources, and the ethical concerns surrounding classroom dissections.
Tess: I think every class has an obligatory animal rights activist, and I was that girl. I refused to do dissections, and lost out on a lot of valuable learning, something I still regret to this day. One of the things I love about LabXchange is that it strives to bring high-quality education to all learners, and I wanted to build a simulation that represented this.
Maggie: I did my own frog dissection at home and filmed it! We also researched different species to make sure we were highlighting the right anatomical features.
Tess: We started out with very clear research goals:

Maggie: Ultimately, we focused on the structures that are the most significant to understanding the relationship between structure and function—the primary organs and some of the anatomical features that are unique to frogs (like the vocal sac and tympanic membranes). Things like the circulatory and skeletal systems were included at the system level (rather than going into specific arteries or bones), and we chose not to go into the minute details of the frog's mouth (which are sometimes included in dissection to give context about the frog’s diet).
Maggie: Students will learn and practice/simulate the scientific skills associated with dissection. Students will be able to explain the relationship between structure and function in the context of frog anatomy.
Maggie: I think it’s nice that the simulation can be used in any of these ways! In a well-resourced or advanced classroom, this could be used to review the procedure before completing an actual dissection, but for many classrooms [the simulation] might be a more feasible option than an actual frog dissection. The simulation supports an understanding of the relationship between structure and function (a key cross-cutting concept in the NGSS framework), introduces lab skills, and can even function as an entry point to a discussion about scientific ethics.
Tess: I envision it being used in a few ways, including as a pre-lab primer, an alternative for students who are squeamish, an alternative for students who missed the class, or an alternative for schools who aren’t able to do real frog dissections.

Maggie: Virtual dissection offers an ethical and cost-effective alternative to in-person dissections. It can also enhance the learning experience by providing feedback in real time, along with additional context about the different parts that students are exploring and built in assessment.
Maggie: It’s helpful to know why scientists use dissections and why frogs are used as a model organism, but this context is provided in the introduction to the simulation. Teachers could also choose to include additional information about frogs and their roles in their ecosystems to touch on the cross-cutting concept of systems thinking.

Maggie: The embedded questions and the worksheet attached to the simulation provide a good opportunity for assessment of student learning. Teachers could also consider introducing a new anatomical feature of a different organism and ask students to use what they’ve learned about the frog anatomy to explain the relationship between the structure and function in this new context.
Tess: It’s a small thing, but in a classroom setting, before you even start cutting the frog, the educator points out different parts of the frog, or asks students to find them on their own model. I love that we were able to replicate that with the "scavenger hunt” style of the anatomy section.
Jump into the virtual frog dissection here, or explore the rest of our simulations in the LabXchange library!

.svg)

.svg)


